화면 전환 시 정보 전달1
오늘은 화면을 전활 할때 정보를 다음 화면에 정보를 전달하는 과정을 연습했다.


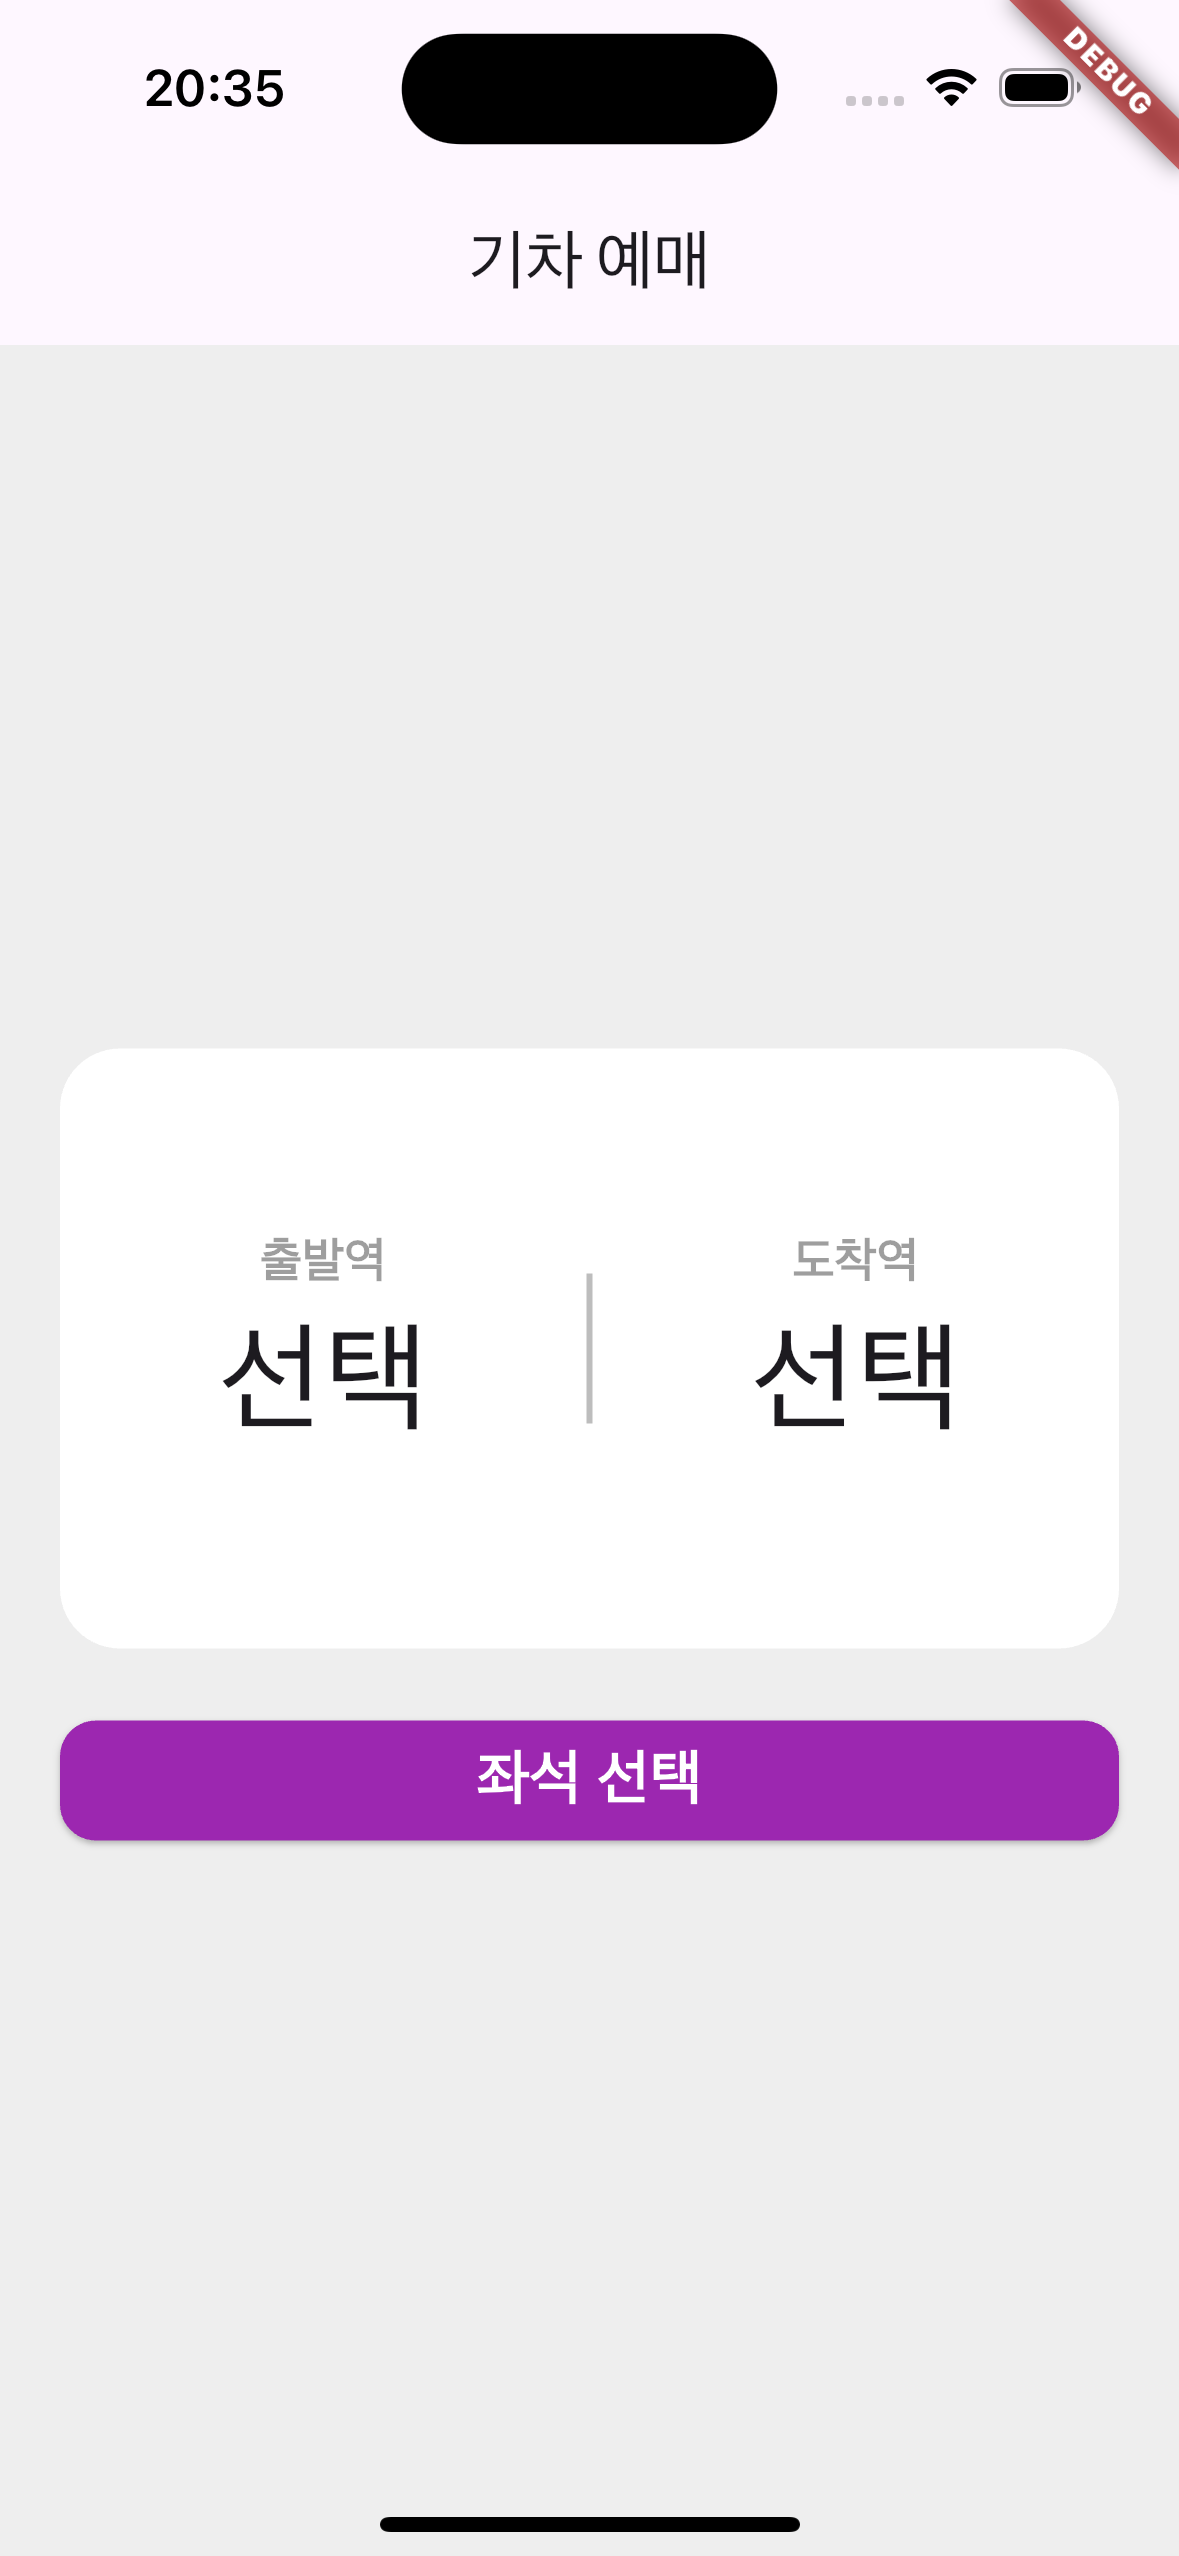
왼쪽의 화면에서 출발역과, 도착역을 클릭하면 '출발역', '도착역'이라는 글 정보를 오른쪽으로 넘겨서 상단에 표시할 수 있는 기능이다.
우선 하얀 사자 안에 글씨를 구성하는 코드이다.
  GestureDetector label(String label, String? station) {
    return GestureDetector(
      onTap: () {
        Navigator.push(
          context,
          MaterialPageRoute(
            builder: (context) => StationListPage('$label'),
          ),
        );
      },
      child: Column(
        children: [
          Text('$label',
              style: TextStyle(
                color: Colors.grey,
                fontSize: 16,
                fontWeight: FontWeight.bold,
              )),
          Text(
            station = station == '' ? '선택' : '$station',
            style: TextStyle(fontSize: 40),
          ),
        ],
      ),
    );
  }
클릭이 되면 다음 화면으로 전환이 되어야하기 때문에 GestureDetector를 이용해서 onTap을 사용해 StationListPage로 전환을 시켜주었다. 그리고 이때 출발역인지 도착역인지 알려주어야하기 때문에 $label을 이용해서 정보를 넘겼다. 그리고 child를 이요해서 안에 주어진 글씨를 구성했다. 이때 StationListPage에서 선택된 역의 이름이 넘어와야하는데 역 이름이 선택되기 전에는 '선택'이라는 글자가 나오도록 삼항연산자를 이용했다.
 Widget station(String start, String last) {
    return SizedBox(
      child: Container(
        height: 200,
        alignment: Alignment.center,
        decoration: BoxDecoration(
            color: Colors.white, borderRadius: BorderRadius.circular(20)),
        child: Column(
          mainAxisAlignment: MainAxisAlignment.center,
          children: [
            Row(mainAxisAlignment: MainAxisAlignment.spaceEvenly, children: [
              label("출발역", start),
              Container(
                width: 2,
                height: 50,
                color: Colors.grey[400],
              ),
              label("도착역", last)
            ])
          ],
        ),
      ),
    );
  }
그리고 다음 위젯이다. 하얀 박스를 구성하는 기능을 한다. 하얀 박스를 Container를 이용해서 높이와 가로로 가운데 정렬을 맞췄다.
화면을 보면 흰색 상자안에 출발역, 가운데 줄, 도착역 3가지가 가로로 구성되어있다. 이를 위해서 Row 속성을 이용했고 이후 3가지를 spaceEvenly를 통해서 상자 안에 동일한 간격으로 구성되게 하였다.
Widget build(BuildContext context) {
    return Scaffold(
        appBar: AppBar(
          title: Text('기차 예매'),
        ),
        backgroundColor: Colors.grey[200],
        body: Center(
          child: Padding(
              padding: EdgeInsets.symmetric(horizontal: 20),
              child: Column(
                mainAxisAlignment: MainAxisAlignment.center,
                children: [
                  station("$start", "$last"),
                  SizedBox(height: 20),
                  Seat_Choice(),
                ],
              )),
        ));
  }
그리고 마지막으로 가장 상위 화면에 station으로 만든 화면을 뿌려주면 homePage를 만들고 이후에 출발역, 도착역 정보를 리스트 화면으로 뿌려주게 된다.
다음으로 할 것을 리스트에서 선택한 역을 다시 homepage에 가져오는 기능을 만들 예정이다.
'Flutter > 캠프' 카테고리의 다른 글
| ListView를 이용한 화면 구성 (0) | 2024.11.19 |
|---|---|
| 화면 전환 시 정보 전달 2(push-pop) (1) | 2024.11.18 |
| 24.11.11 (3) | 2024.11.11 |
| CLI 프로젝트 어려웠던점 (0) | 2024.11.07 |
| 24.11.01 (0) | 2024.11.01 |


